Authentication & Team management
Account registration
When reaching the Fast2 UI for the first time, you will be prompted to create an account.
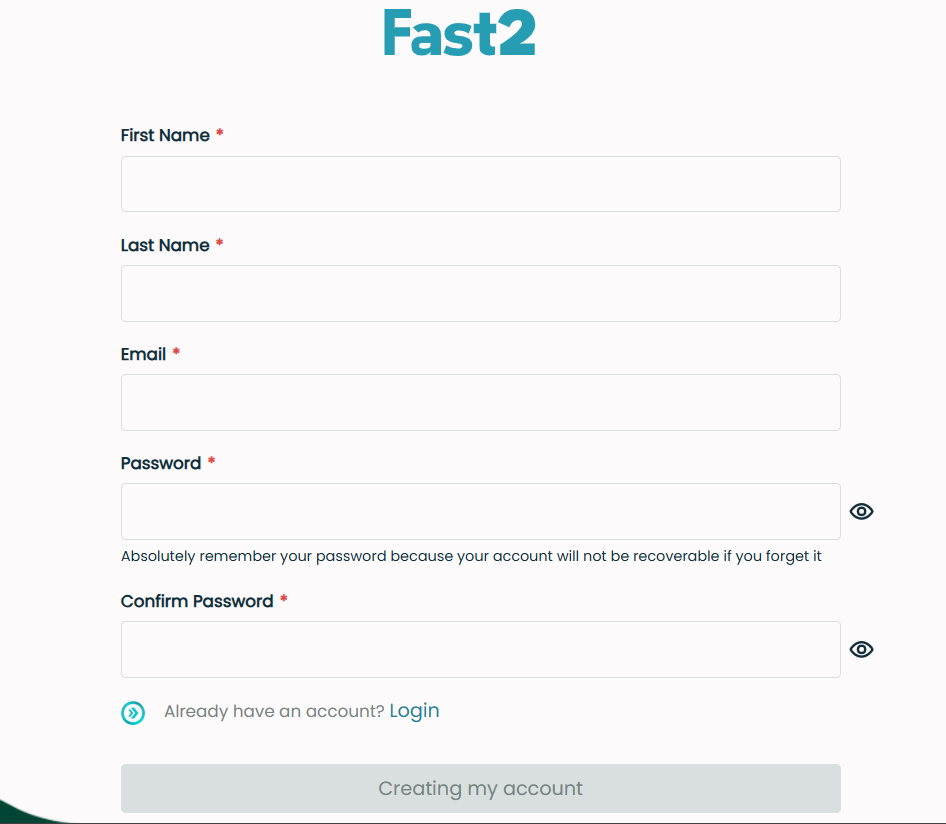
To create a new account in Fast2, follow these steps:
-
- Fill in the Required Information: Enter the following details:
- First Name: Enter your first name.
- Last Name: Enter your last name.
- Email: Provide a valid email address. This will be used for login.
- Password: Choose a strong password. Remember that your password is crucial for securing your account.
- Confirm Password: Re-enter the same password to confirm it matches.
-
- Review the Password Guidelines:
- Ensure your password meets the security requirements: At least 8 characters long and maximum 16 characters long.
-
- Submit Your Information:
- Click on the "Creating my account" button to complete the registration.
Warning
It is essential to remember your password. Fast2 does not offer password recovery for forgotten passwords.
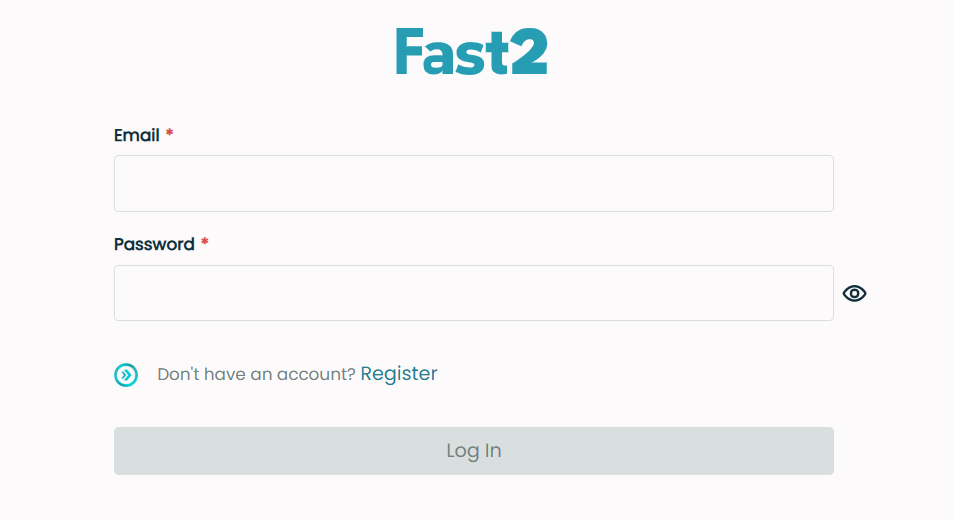
Login
Once you have registered, you can log in to the Fast2 UI using your email and password.
Team management
Fast2 allows you to manage multiple users. When starting Fast2 for the first time, the created user will be the super admin. The Team Place allows authorized users (Super Admin and Admins) to manage team members in a Fast2 Place. It includes:
- Viewing all members with details: Name, Email, Role
- Adding, deleting, and updating member roles
- Resetting member passwords
Navigating to Team Place
To access Team Place: Click on your account avatar in the bottom left corner of the screen and then select Manage Team from the popup menu.

User Access Restrictions
- Super Admin/Admins: Full access to Team Place.
- Users: If a user tries to access the Team Place, he will be redirected to EditPlace with error toast:
You do not have permission to access this Place
Adding a new member
Adding a new member as Super Admin
- Click Add Member.
- A modal appears with the following fields:
- Role (default: User, editable)
- First Name
- Last Name
- Password
- Confirm Password
Validations
- Email format validation and uniqueness check.
- Password requirements displayed when focusing on the field.
- Save button enabled only when all fields are valid.

Adding a member as Admin
- Button labeled Add User.
- Role field preset to User and read-only.
Only Super Admin can add new members as Admins.
Deleting a member
Deleting a member as Super Admin
- Select one or more members (Users or Admins) via checkboxes.
- Click Delete.
- Confirmation popup appears with:
- Member details
- Warning:
This action cannot be undone - Buttons: Cancel, Delete

Deleting a member as Admin
- Can delete Users only.
- Checkboxes for Admins and Super Admins are disabled.
Changing a member's role
Changing role as Super Admin
- Click on the role tile (User/Admin) for a member.
- Mini popup appears:
- “Promote member → Admin” or “Demote member → User”
- Confirm in the modal popup:
- Member details
- Warning about role change permissions

Changing role as Admin
- Can only promote or demote Users.
- Role change for other Admins or Super Admins is not allowed.
Resetting a member's password
- Available in the Members table via Reset Password button.
- Confirmation popup appears before action.
- Success notification confirms the password reset.
- Do not forget to send the new password to the user.
